Tales from the Cast Iron Guy Creamery
If you, like me, avoid those recipe blogs that spend the first fifteen pages of text explaining the backstory of the recipe, then I have a treat for you… merely two paragraphs, a photo, and of course a delicious ice cream recipe to follow.
Our travel-food story goes something like this: After obsessing over the UK holiday film Love, Actually and specifically that scene where Keira Knightly’s character shows up with a slice of pie for her husband’s buddy, my wife became slightly obsessed with finding her own slice of banoffee pie when we visited the UK in 2006. It was darn good. And it turns out no one in Canada bothers to consistently sell it. Anywhere. Instead we learned how to make banoffee pie — actually a fairly simple pie consisting of a graham crust, dulce de leche, bananas, whipped cream, and a baker’s selection of sprinkled garnish. Then last year, after procuring ourselves an ice cream maker attachment for the stand mixer, I stumbled on the idea of adapting the banoffee pie recipe into a banoffee ice cream recipe… an effort I undertook for the third time earlier this week:
Recipe
500 ml heavy cream
250 ml full fat milk
160 ml white sugar
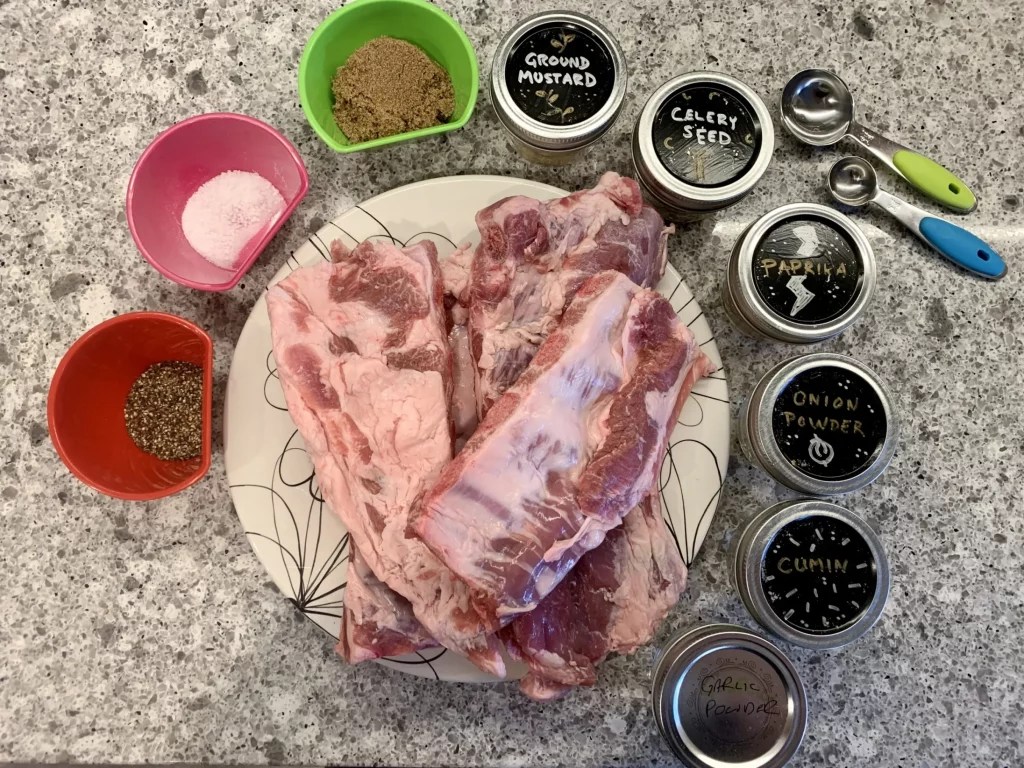
2 ml salt
6 egg yolks, separated
1 ripe banana
5 ml vanilla
75 g coarsely crumbled graham crackers
160 ml dulce de leche
In a saucepan I combined the cream, milk, salt and sugar and heated to about 125F or until the sugar dissolved completely.
Meanwhile, I separated the eggs from their yokes and combined the yokes with the banana which I’d mashed as smoothly as I could with a small whisk. I tempered the egg/banana slurry with the hot cream mix. This meant scooping and drizzling a few measuring cups full of hot cream mixture into the egg mixture and stirring furiously to bring the temperature up in the eggs while avoiding making the contents of banana breakfast burrito…. in other words, avoiding scrambling the eggs.
Then, when things were up to temp, I combined the two mixes fully, heating and pasturizing the custard base at about 170F in the saucepan.
This needed to cool. I filtered the whole thing through a fine wire mesh seive into a juice jug. There was a couple tablespoons worth of banana pulp that didn’t filter, but the flavour of the bananas was already infused into base so I just discarded that pulp and moved on.
Four to six hours in the fridge likely would have been long enough, but I find I get best results in my particular ice cream churn with an overnight chill. In the morning I stirred the custard mix again and added the vanilla before firing up the ice cream maker attachment for my stand mixer.
I am aware that making dulce de leche at home is possible. From what I understand it involves carmelizing (in a sealed can) sweetened condensed milk in an effort if done wrong can result in explosive-level pressurization of said can. Fortunately, I’m able to buy ready-to-serve dulce de leche from the supermarket, so I got that ready by the far less dangerous action of peeling the lid off the can.
I also took this opportunity to crumble the graham crackers up in a bowl.
The ice cream churn did it’s thing for about twenty minutes after which I added the cracker crumbles to the mixer. This combined for another minute or so.
The final stage, in a chilled bowl, was to “swirl” in the dulce de leche. A scoop of ice cream into the container followed by a drizzle of the sauce followed by another scoop of ice cream… and so on until everything was layered together and ready for the freezer.
The result of all this work is a delicious banana ice cream swirled with the cool caramel flavour of dulce de leche and provided a wee crunch by the graham crackers… or as close to a banoffee pie as I can get in ice cream form. And as much as I like pie, ice cream is darned amazing, too.


You must be logged in to post a comment.